lunes, 18 de septiembre de 2017

A Project

I'd like to share with you some project I am working on. I just wanted to do something different, something unusual using the techniques I have learnt over the years but that I hardly get to try. It is not finished, but it is progressing.
This was the design, even though I think I will finally only do the stamp on the middle and probably ignore the dark dots, as they don't convince me:


It has 192 pages of Fedrigoni paper and it is A5 size. The style is a regular Ethiopian, as I didn't want to spend too much time on the structure, I wanted to go straight to the decoration part. 
After sewing and trimming, I used anilines to paint the edges:


Then I put on the cardboards and I used a thin saw to cut the boards to a shape.


Which was then glued to the covers. I am sorry, I forgot to take a picture of that step hehe. 
Anyway, I dyed some leather using Fiebing's red, one of my favourite dyes, and I put it on:


This is how it is looking now. I intent to do some tooling, gilding and mosaique work on that cover. I have great hopes it will look good!
Best,

Anna

miércoles, 21 de junio de 2017

Using 22k gold!!

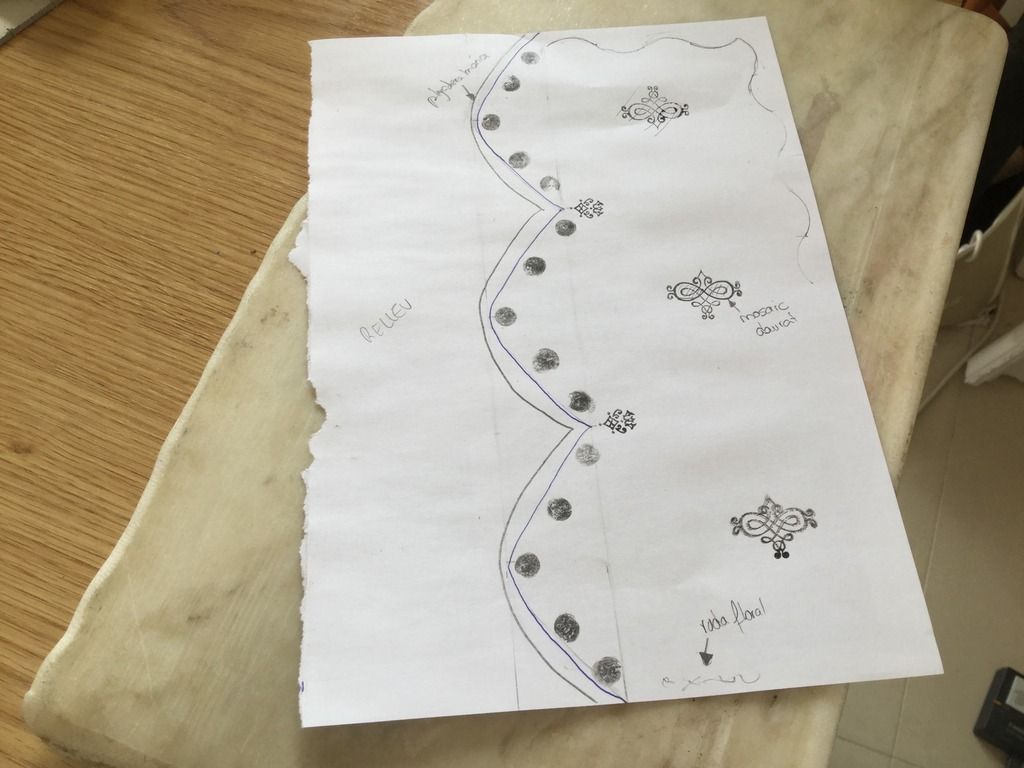
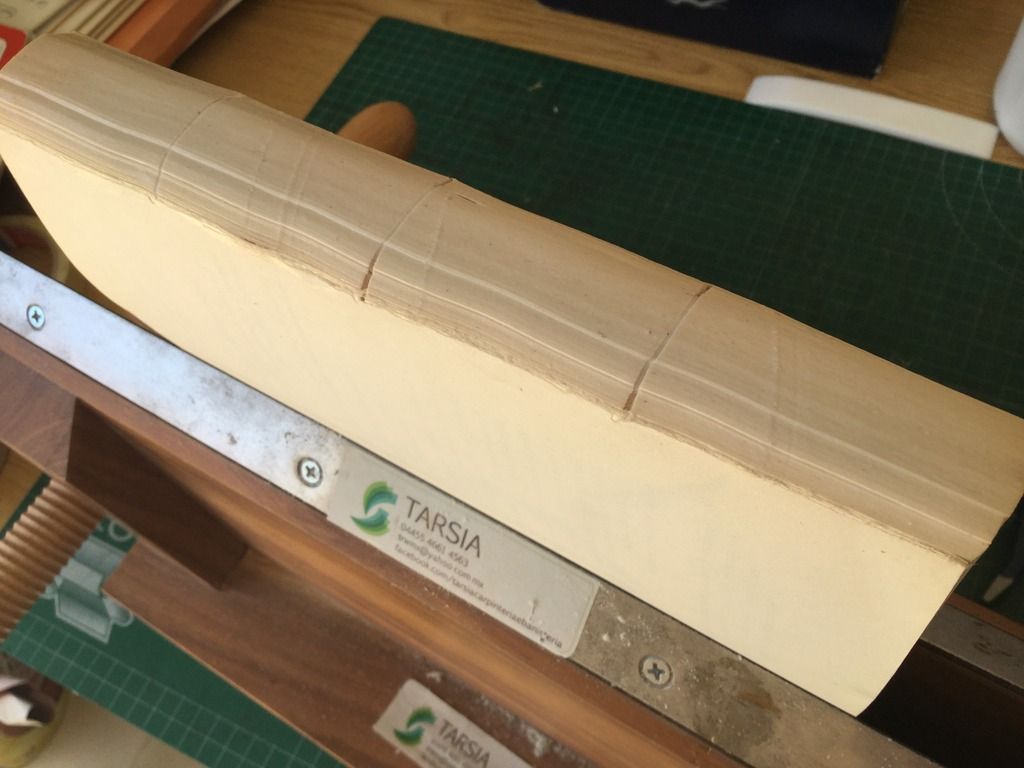
It's been a week since I received my real 22k gold, silver and copper sheets. I had an adhesive named Fixor from two years ago, but since in the online shop there was another adhesive very cheap, I decided to give it a try, in case Fixor was expired or to try it for when I ran out of Fixor. 
Anyway, for my tests I glued two scraps of leather, black and brown, and blind tooled with no heat a stamp. Also, I made some very thin lines to test a pallet (you only stamp a pallet once, as it is very difficult to very precise when reestamping). I applied one layer of Fixor on the stamps and two on the pallets separated by ten minutes (that is how I was taught to do it). I also applied the other adhesive. While Fixor penetrates on the leather and is barely noticeable, the other one is sticky and messy. 
Anyway, after waiting for about one hour on Fixor to make sure it is dry and about 30 minutes on the other one so it starts its effect, I started... and I quickly noticed my mistake: that glue I had bought was useless for my purpose. It sticks all the layer, not just the tooled parts. And then I understood that that glue was used in restoration to gild marks or stuff where the whole sheet of gold needed to stuck. After I realized this, I continued with Fixor and came to this:


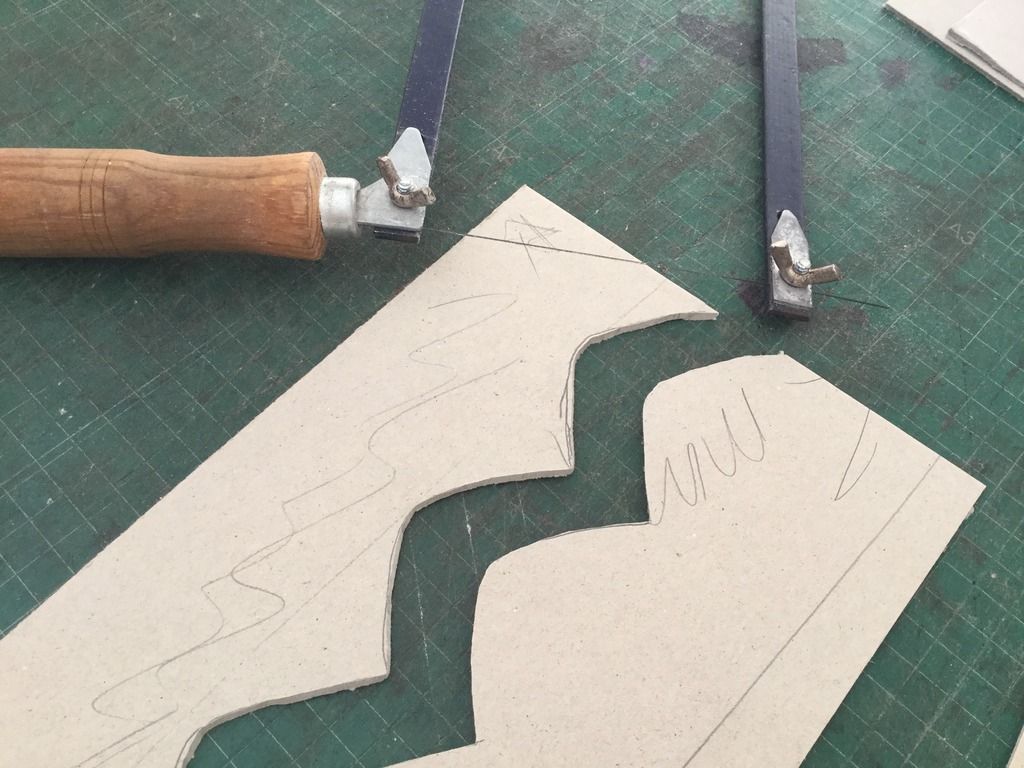
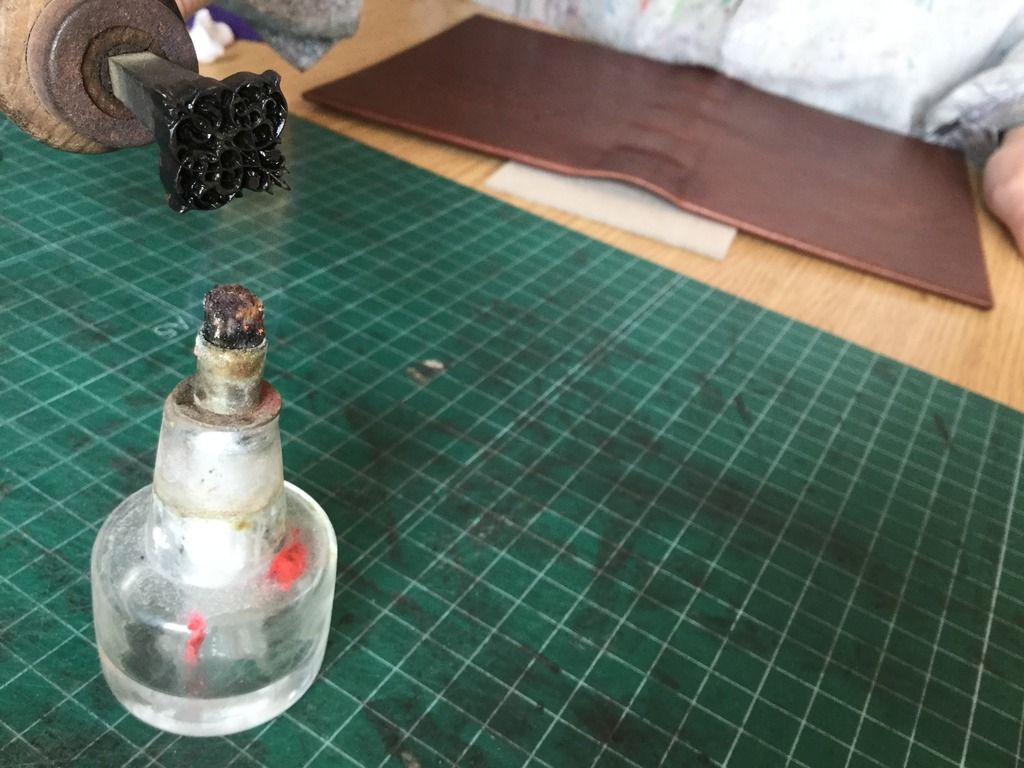
I used a cushion and a special knife to cut the metal. Then I moved it as I could to where the stamp was. I had previously put a touch of almond oil on the stamp, so the metal wouldn't fly. I can't stress enough how lightless the sheet is, how even breathing it flies. One must be extremely careful, because if it crumbles, it becomes dust. Also, it sticks to your fingers and it crumbles. 
Anyway, once the cut sheet is on the stamp, the tool is heated. To know when the tool is ready, I had a wet sponge. I pressed the tool on the sponge and if it made sound, it was too hot. Once there is no sound, I wait for 5 seconds to cool it on the air and then I gently apply it to the stamp. When I am sure the tool is well positioned I press hard, moving it left and right, north and south and diagonally. 
When the tool is out, with some cloth I remove the rest of the gold. Sometimes you can help yourself with an awl on the small places.
And it was returning that awl to its place I put my arm on the pallet, which was still pretty hot. A cry was made and a visit to the doctor was appropiate. The nurse cured me and three days after that is how the burn looked:


Fortunately, it appears it won't leave a scar, so yay!!
Anyway, by the time I got hurt, I was almost done and these are some close ups:


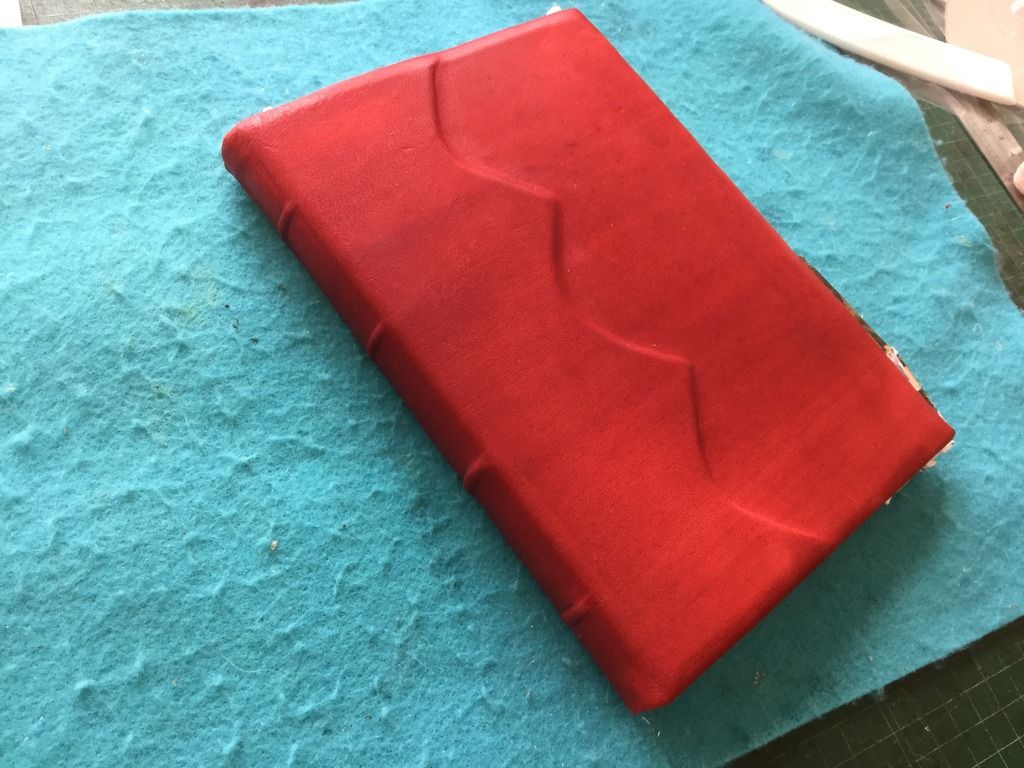
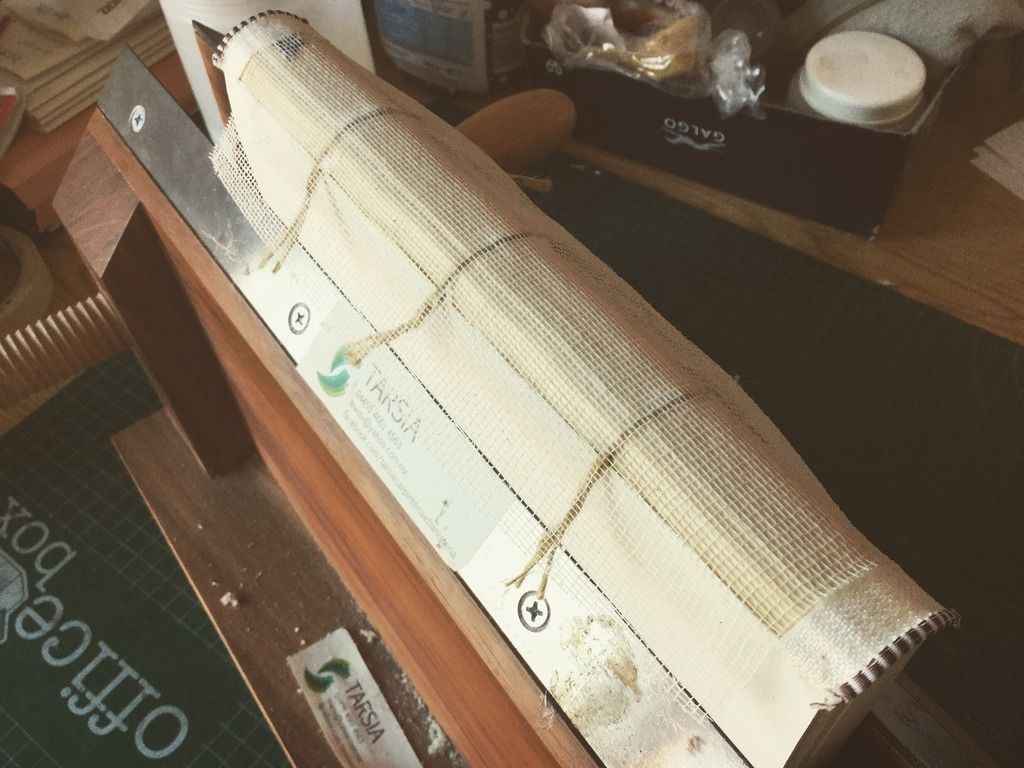
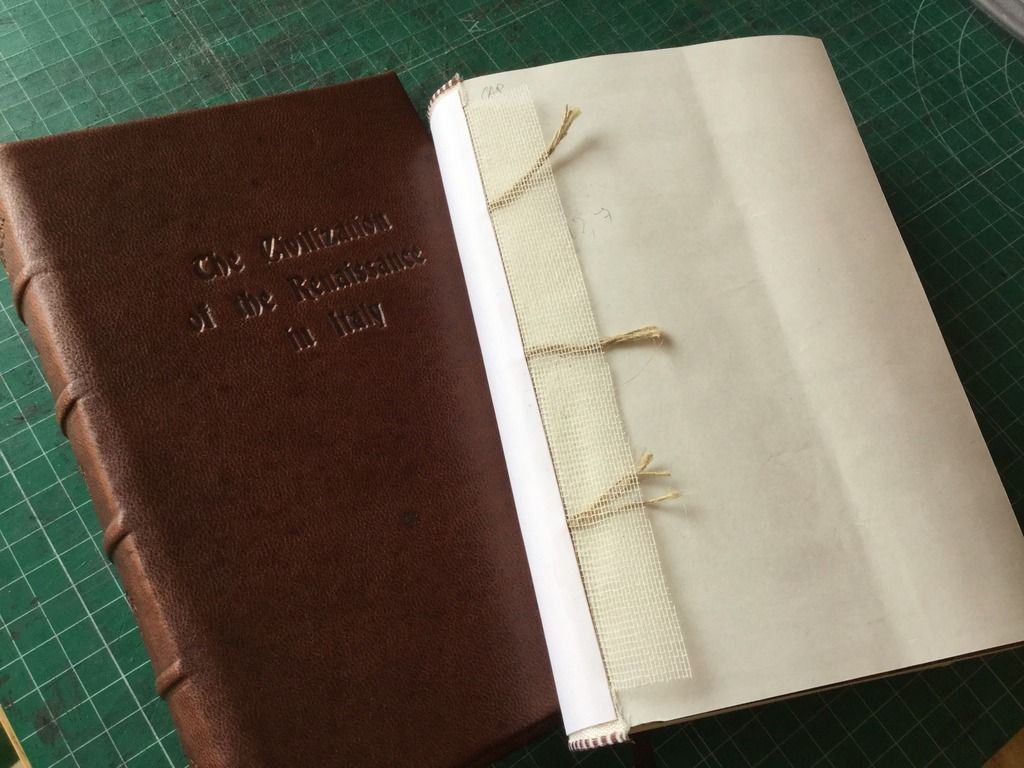
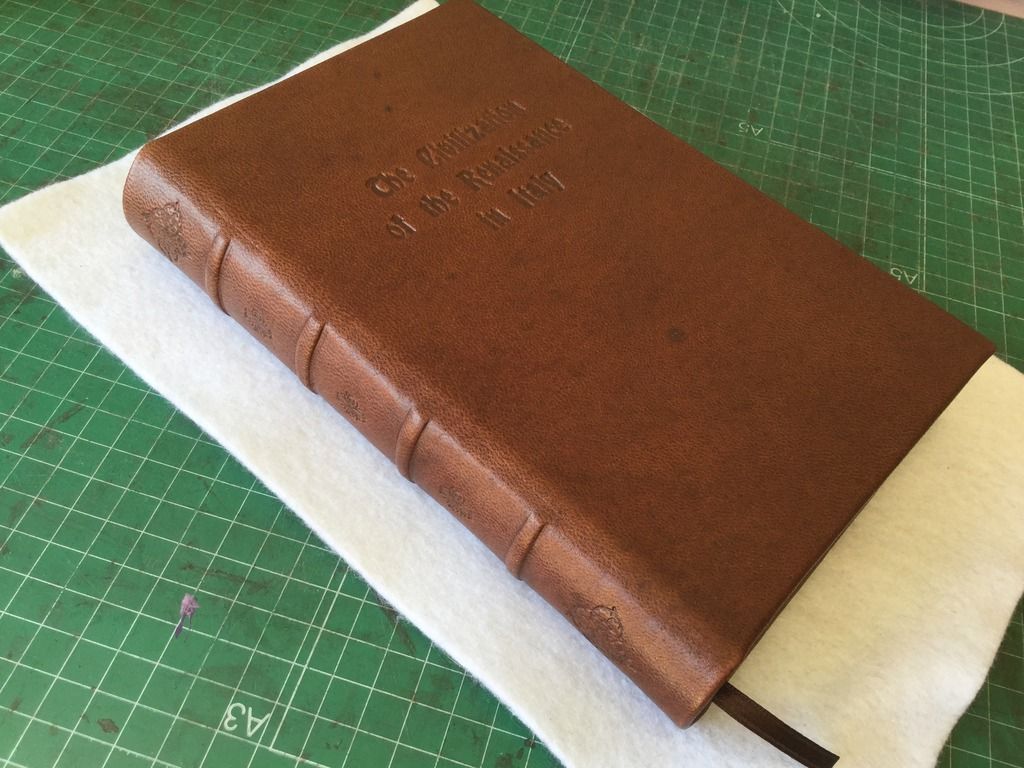
After that test I have gilded some books. I actually intended using copper on the black one, but I forgot and used gold.


I am particularly happy with this one. That mark was made with a wheel.


Anyway, I hope you enjoyed this post and let me know if you have any questions or suggestions. Best!


Anna


viernes, 9 de junio de 2017

Some gilding and tooling

I have been doing some gilding and tooling lately. For the gilding, I have been using fake gold, but I am waiting for my real gold to arrive. I also ordered silver and copper, so we'll see how that works out.
Here you can see the process. I first stamp with my tool cold, with the leather wet. Then I press with my tool heated, so the mark gets deeper. Always with the leather in wet, else the print would not be deep and the leather would risk damage. In this image, the stamp on the left has already been hot stamped, while the two on the right only have had the cold pressing.


Some of the results. This one has 48 toolings with 5 different stamps, both done twice, so a total of 96 times I stamped. 


I tooled a pallet and gilded three different stamps with fake gold (also called American gold or foil).


And finally, a single gilding with foil, too. 


I will come back with my work using real gold, silver and copper soon. Can't wait to try out those!!

All of these journals are for sale on my shop: www.etsy.com/shop/GatzBcn

Have a nice day,


Anna

viernes, 20 de enero de 2017

New Face for a Special Book

Today I wanted to share with you a rebounding of a book I made last year. For the person who wanted the book, it was a very important book, and he wanted to have a nicely bound edition.
The first step was ordering the book online.


The book was bound in a single-sheet soft cover. That meant I had to discard most bindings, as they work in signatures, and had to go with an American binding. I removed the cover. There was a really thick layer of industrial glue that I had to remove, because the book had to be rounded. It was so complicated, I finally had to cut, but because they were already single sheets, it didn't matter!
Anyway, after trimming out the glue, I made some cuts to the text block in order to insert some cord, then I gave the rounded form to the spine and applied some glue. Once the glue was dried, the block was ready to be worked on.


I applied the cords, the headbands and the backing cloth.


Once the text block was ready, it was time to work on the covers. A brown leather was chosen, with handtool decorations and the name stamped on the front cover in Bradley font.


And the finished book.