Hello everyone!
After some requests, I decided to make a gilding tutorial. It honestly is not easy to make a tutorial on gilding because some things are hard to explain in words, but I'll do my best. This information only applies to hand gilding on leather. It doesn't cover the use of a machine gilding and you can't gild on cloth (long story short, you need to apply a lot more pressure to gild on cloth and make it look good).
First of all, you will need a couple of things before you gild well: patience and practice.
The tools
There are three kinds of tools: hand tools, pallets and wheels. Ideally they should be made of brass, in order to tolerate the heat and the pressure you are going to apply to them.
Please, note if you drop a tool when it is hot it will deform and it may become completely useless.
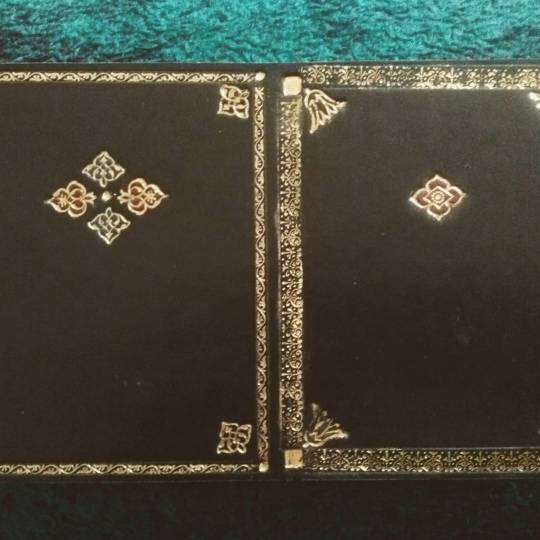
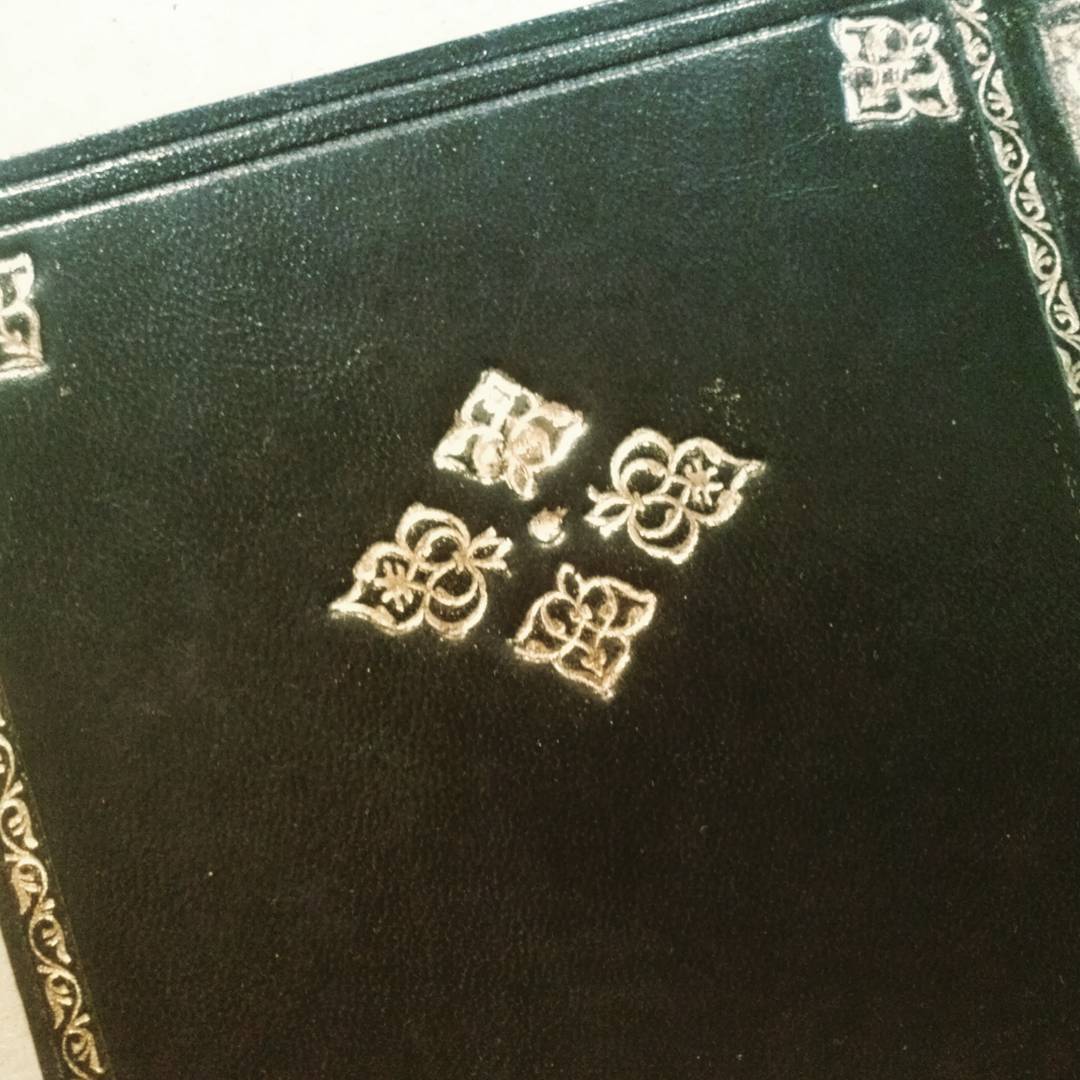
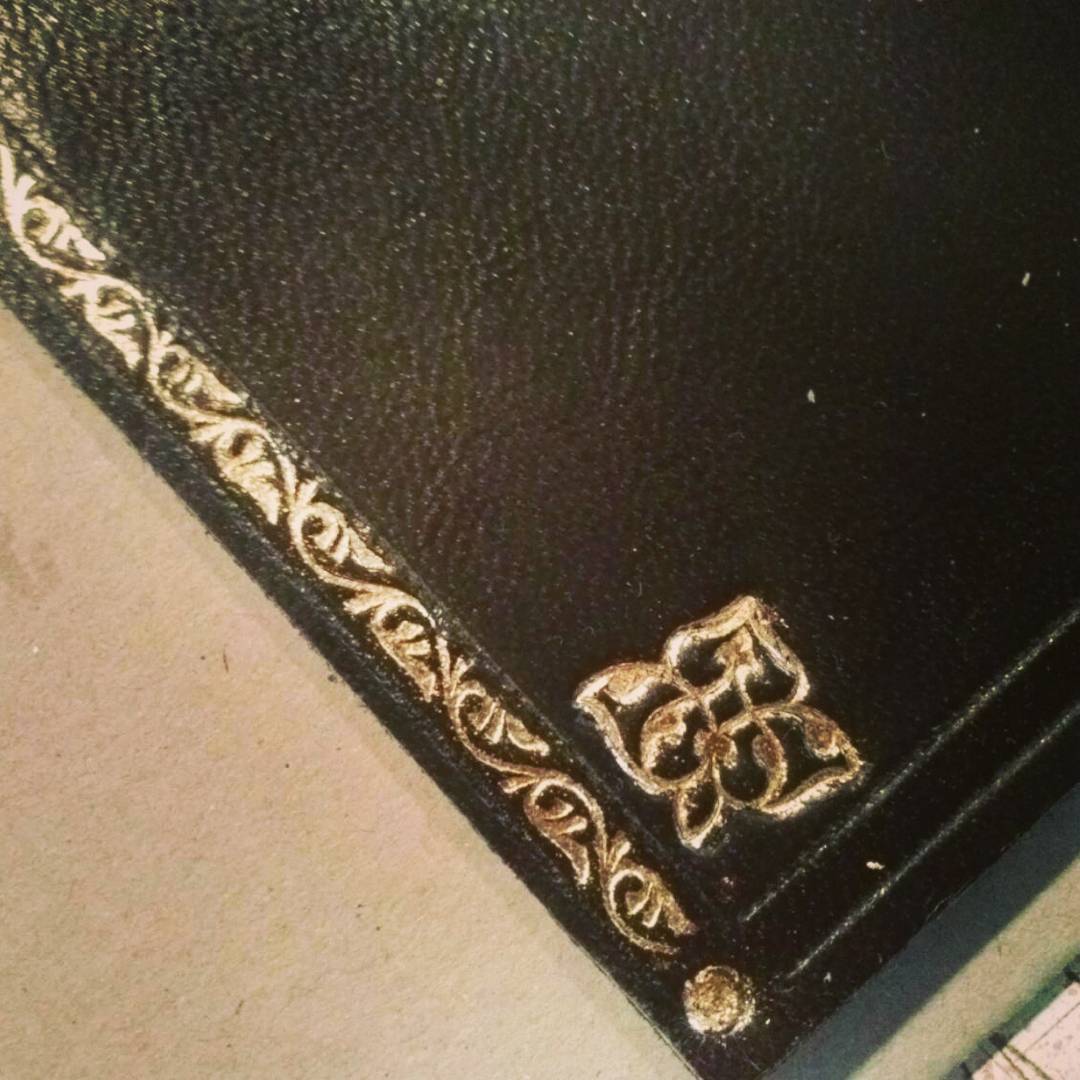
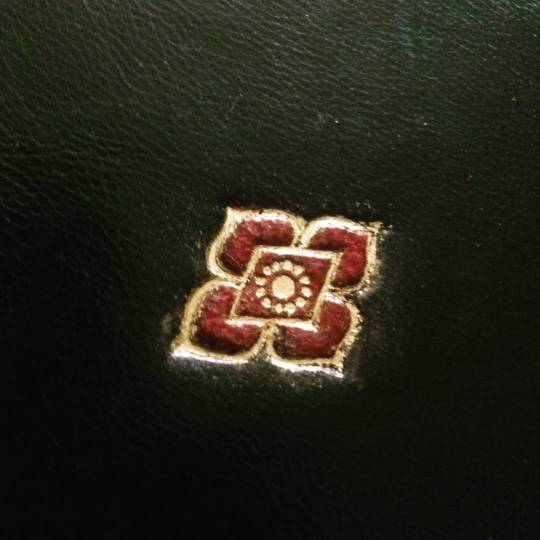
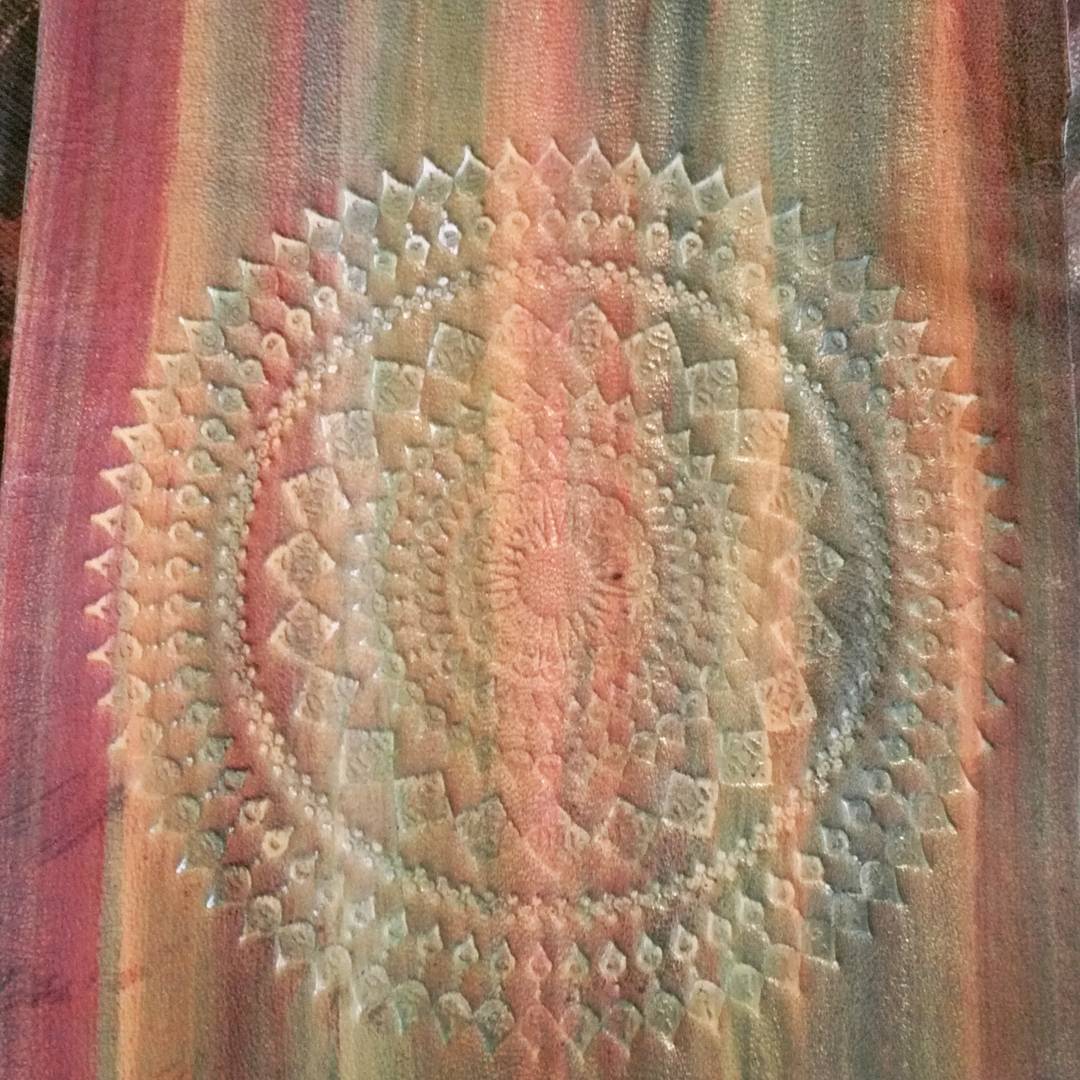
Hand tools are the ones with the most variety. They are symbols, logos, "corners", etc.

You apply them on the leather with only one hand in a way that the thumb goes on the tip of the wood in order to make pressure. You wrap one finger of the other hand with leather (like a thimble) and put it on the brass to guide it. When you have found the print of the previous mark (I'll come back to this below), you press north, south, east, west and, if the tool is big, you may press diagonally too.

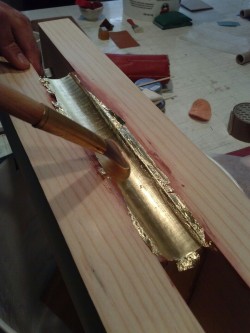
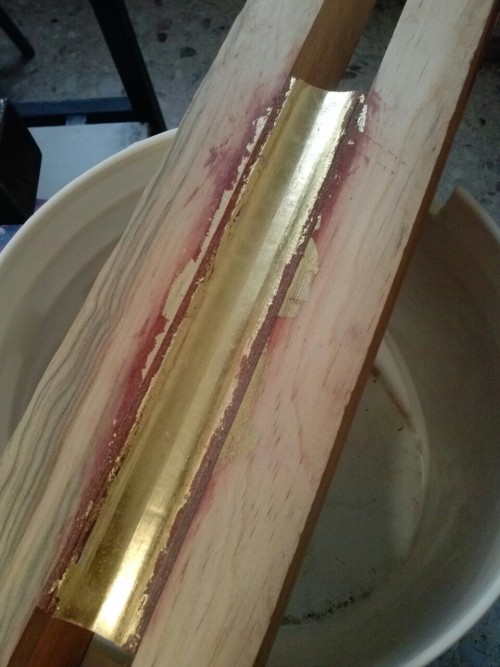
Then you have pallets, which are used to gild on the rounded spines. When they are a single line, they are usually just called line instead of pallet. Even though some are flat, most of them are slightly curved to avoid touching the covers of the book when you use them.

You grab them with one hand on the handle and move them on the spine from right to left or viceversa, as you are more comfortable. Slowly and steady. If the pallet is wide you may move it slightly north-south as you keep moving west.

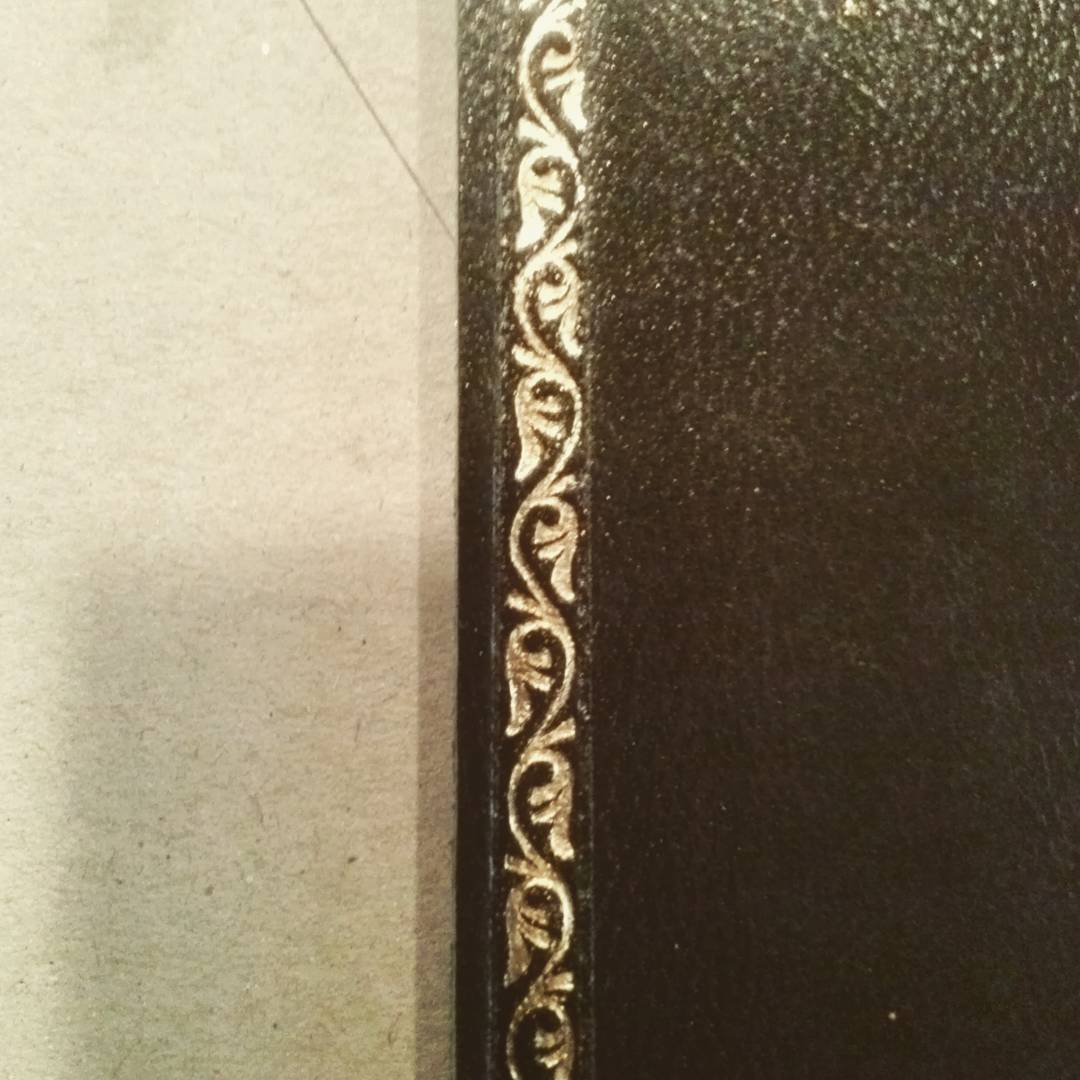
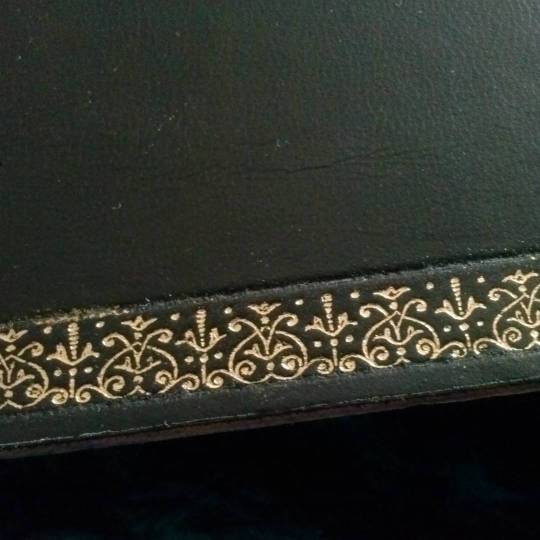
Finally, there are the wheels. They are used to make long strips of decoration, usually on the covers, but sometimes on the borders of the cover or even in the margin on the inside cover between the leather and the endpaper.

Some wheels have regular handles and some have longer handles. Regular handles require a more strong hand, while larger handles are usually held in one hand and the shoulder. You just put down the wheel and keep rolling until the end! You should take into account to start rolling faster and finish rolling slower, since the wheel will be cooler at the end. Like the pallet, if it is very wide, you can move slightly side to side the wheel to make sure you are pressing equally. And beware of misalignments!

The heating process
You have to heat the tool. It will take more or less time depending on what you are using. If you are just starting and don't have a heater, you may also use the kitchen stove. I have a small bottle that I fill with alcohol and it has a wick I lit. It is like having a candle with no wax. The only problem with that is that it takes longer to achieve the heat required and you have to hold the tool all the time. Stove is a better option.
The one below is sold in Talas, NY (www.talasonline.com).

You will need a wet sponge and some water next to you in order to check the temperature.
Now comes the central point of this post: when do I know the heat is right?
Grab the tool and touch the sponge with the brass, while being careful of avoiding the decorated parts that will touch the gold (bubbles may keep and cool the tool faster). If the tool makes a very loud noise and small bubbles jump around, you overheated it. If the tool doesn't make any noise, it is underheated. The ideal is for the tool to make some small noise, keep it until it makes no noise and then it is the correct temperature. Don't delay or you will have to heat it again.
If you overheat the tool a lot, do not hold it on the sponge to lower the temperature. This will put out of tune the tool and if that happens, the tool will heat very quickly but will also lose temperature very quickly, sometimes rendering it useless. In that case, you can press the tool on some cardboard, so it passes the heat to the cardboard naturally and you wait until it is good enough to use.
The materials
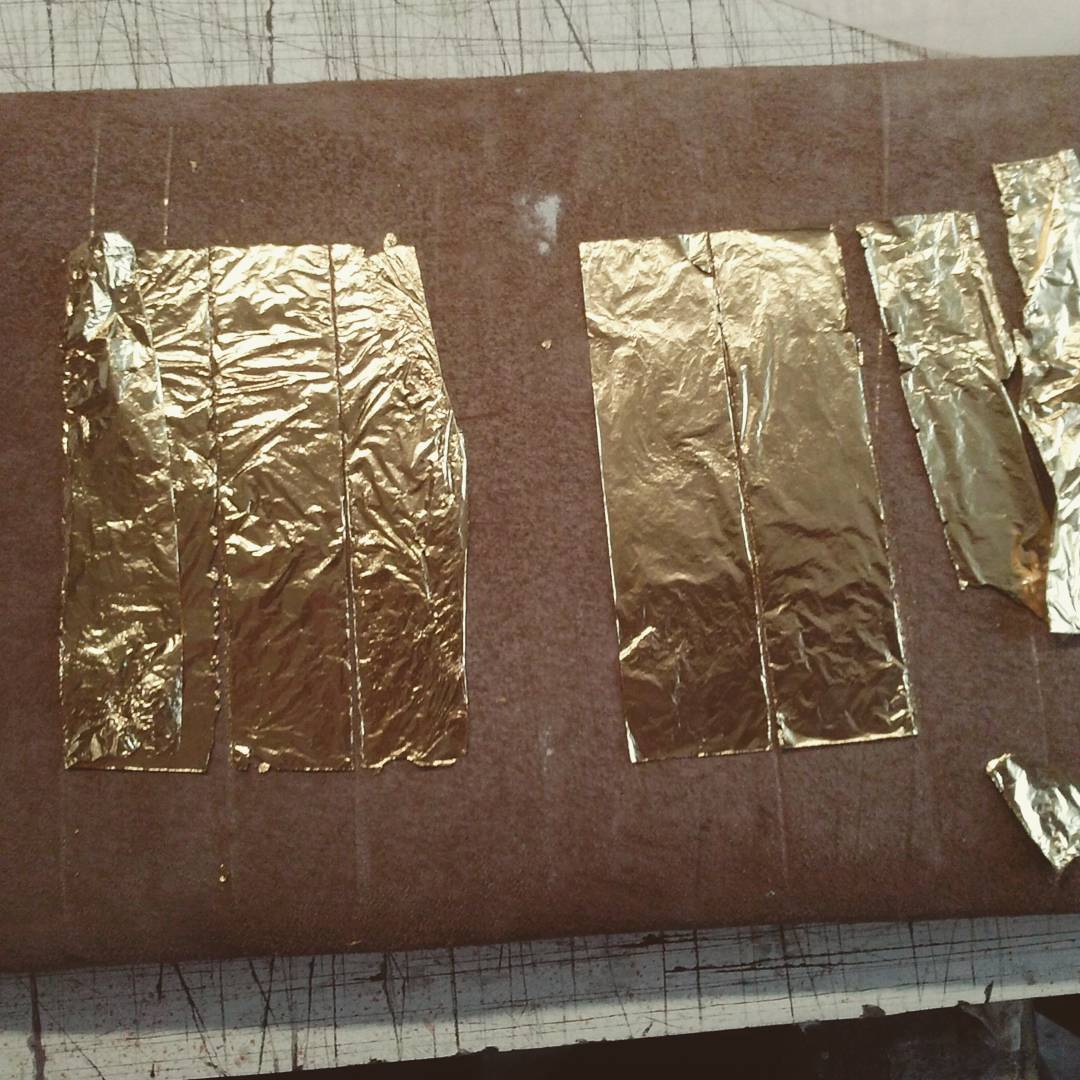
You can either use foil (I think it is also called American gold) or gold leaf. Of course, the price is not the same, unfortunately. Foil comes in many different colors and is very cheap, while gold leaf can have different tones but it is always the same gold color. The latter can be of 22, 23.5 or 24 k. I would avoid 22k, since it usually requires more layers, which means more work and you end up spending more money and time than if you had used 23.5 or 24 k from the start. That is, unless you are just practising, in which case, it is totally fine. Even though it is not cheap, the price is affordable (about 60€ for 25 gold leafs of 8x8 cm? I am not sure).
If you use foil, I suggest you avoid the footprint for the simple reason that once you put the foil on the leather you will be blind and won't know where the original print is, making it very difficult to ruin it. Foil is usually made one time: it's no good for repeating... or erasing. If your tool is over heated and you end up having what I call a paste (which is all the foil "glued" on the leather), you can try rubbing with some cotton or wool fabric... but if it doesn't come off, there is nothing else you can do.
If you use gold leaf, there are two ways: the traditional one and the modern one. Both work only on vegetable tanned leathers. Gold doesn't stuck on chrome dyed leathers.
If you are using a hand tool, first of all you should make a print on the leather using only the tool low heated (low enough you can hold it on your hand for 5-10 seconds without having to rush to the hospital). If you are using a wheel, it's a good idea to make some thin lines using a pointed compass to have some guidelines and avoiding bias.
The traditional one uses egg white. It's a good idea to add some drops of glycerin, so it moves easier. You apply the white on the leather abundantly, only on the part you will be gilding. Hold on for a few seconds, depending on the temperature and humidity of the room (yes, I know, a lot of factors). When you see it has absorbed only a bit, with some cotton cloth soaked in almond oil, press slightly on the surroundings. This helps the leaf to stick and not fly around. Then you apply the leaf and with a clean cotton you slightly press, so that you should see the footprint below. You can't wait for too long, because if the egg dries, the gold will not stick. Use the tool and remove the left overs with a cloth.
The modern one uses fixor. Sometimes egg can be tricky on some leathers, but fixor should always work (on vegetable tanned leathers). The proportion is 1 drop of water for every 4 drops of fixor. Apply some on the parts where you are going to gild. Be careful, because fixor can stain some leathers if applied roughly. Wait for ten minutes and apply a second layer. You should wait an hour. You can wait less, you just need to be sure it is completely dry. Then you apply some almond oil, the gold leaf, press with clean cotton and use the tool. Remove the leftovers with the cloth.
Pros and cons: egg white is very easily found for everyone, while fixor is sold by Relma, in France, and it is not that cheap. Alternatively, Talas also sells it. Fixor can be left for days and it still works, while egg white can't wait. Fixor always works, while egg white can be somewhat more picky. In conclusion, fixor is more comfortable, but if it's unavailable, egg white works perfectly well too.
If you applied to much heat and too much gold was glued, don't worry. Unlike foil, you can remove with something that you always have close... your saliva. Yes, you can wet a stick on your saliva and carefully remove the gold. Alternatively, don't be afraid of rubbing with the cloth, because the gold that has been pressed with the heat is hard to remove, so you would only remove the left over.
I think that's it. If you have any question regarding this process, feel free to leave a comment below or to contact me by email. I'll be glad to help.