martes, 31 de marzo de 2015

Another Springback book

Since I really enjoyed working on the first springback book, I decided I wanted to make another one. Here is how it looks:

I started by folding the Tomoe River paper into signatures and sawing the holes.

Then I sew the signatures using ribbon.

I glued the back and then I trimmed the book. After rounding it, I applied a layer of backing cloth.

And then, the first thin cover comes.

I made my own headbands. I love how they resemble a braid!

Then I glued the bookmark and the headbands on the spine and added a few layers more of backing material.

Then, I glued the second thin cover.

Then I started adding layers on the spine, so it would have the same thickness as the front and back covers.

Here I have already applied the thick cover.


I glued some faux nerves on the spine.

Then I cut the leather.


And I paired it.


Then I used iron sulphate and oxalic acid to create some effects on the leather.


Once dry, the leather was ready to be applied onto the book.

After doing some gilding, it was done.

And pictures of the final results:


The endpapers are paste paper that I decorated myself.


Hope you liked it!

jueves, 26 de marzo de 2015

Parker 51 Review

I found this fountain pen in an Antique shop that I had already visited before. Besides Parker 51, I also bought a Sheaffer Snorkel that I have already reviewed. The pen didn’t come with its original box, so I can’t comment anything about it. This is the second Parker 51 that I buy (the first one being a Parker 51 Aerometric), and, like the other, it is wonderful I every way, which confirms its place as one of the most emblematic fountain pens.


Appearance & Design (10-10) 
Similar to Sheaffer Snorkel regarding its subtle design, almost minimalist, I find in Parker 51 an elegant and discreet pen. Personally, I think it is a design one enjoys more with time. Even though in the beginning it may seem too simple, the design reveals its functional charm little by little. The body is resin and it goes with a metal cap. Again, even in this section Parker 51 is an icon.


Construction & Quality (10-10) 
I just can say one thing: Parker 51 is built in an excepcional way. Except for the minimal wear off, the pen is in excellent condition after all the years that have passed. I am sure that with an adequate maintenance, this pen will keep working as new for many more decades.


Weight & Dimensions (9-10) 
The pen has a weight and size adequate. It may be somewhat light for some, but I love it. I don’t think anyone can find it uncomfortable.

Nib & Performance (10-10)
The nib of both my Parker 51 is rigid. As I have said before, this doesn’t bother me and I actually prefer pens with a rigid nib because I find that they are easier to control and respond better to quick writing. Both Parker 51 have a juicy nib and require good quality paper in order to not suffer from feathering or bleed through (I like nibs this way). I have never had a problem with the nib, it writes on first trial and no problems of skipping. Two of the best nibs of my collection.


Filling System & Maintenance (7-10) 
The filling system is the famous Vacumatic. The bottom part unscrews and it shows a botton to fill the pen. It’s a funny system, but kind of uncomfortable to clean (not as much as the Aerometric, but not as easy of cleaning as a converter).

Cost & Value (10-10) 
As most Parker 51, mine had a good price. Pens of this quality and price make me wonder if it is still worth it to keep buying modern pens when for less than half the price I can have something as a Parker 51.

Conclusion (Final score 9.3)
A pen worth having in any collection. 


jueves, 5 de marzo de 2015

Springback Book

Two years ago I took a workshop to make a springback journal. Even though I really liked the outcome, it felt kind of complicated to make at home. It is not an easy structure and I was too "green" to make a new one. 
Last year I started one, but never finished it because I didn't like how it was looking. 
But this year I learnt from last year's mistakes and gave it a new try and today I'd like to show you the process and the outcome.
I started by sewing the signatures with the cotton bands. 


That's how the endpapers looked.


Here the book has already been trimmed and rounded.


I applied a first thin cover with a cardboard of 1.5 mm


Then, I put a second thin cover, this one made of Murano card. I didn't glue neither the spine nor 1 cm on each side.


I started applying thickness on the spine to compensate the thickness of the final cover.


Then I put some faux nerves and the thick final cover. The structure was complete. Here I was about to apply paste to glue the leather.


Spine and covers already covered...


Once the leather was glued and dried, I gilded a decoration on the cover and gave the final touches to the leather with the burnisher. This is the final result:


The springback is known for its easy opening.


Handsewn headbands.


The endpapers are made of paste paper, which I  decorated myself earlier.


This time I do feel quite happy with the results. I am glad to say I no longer fear making more of this!

I hope you liked this post. Have a nice week!

Anna

lunes, 2 de marzo de 2015

Custom Album for Inma

Hello everyone!

My friend Inma contacted me because she wanted a custom album. Her idea was an album she would fill up with memories, like the one that appears in the film Up. She wanted to give it to her boyfriend for their 6-month anniversary.
With that idea in mind, she came to my workshop one afternoon. She chose a type of binding which I called Ethiopian (even thought, I modified the style, it's not genuine, in order to achieve some results I like better) and a combination of brown and blue leather. For the inside of the cover, she wanted a Bomoart paper which features some vintage maps.
So, I put my hands to work. I sew the signatures with cord. Every other signature, I put a cardboard folded in order to compensate the thickness of the stuff she would put in the journal.


Once the signatures were sewn, I trimmed the pages and glued the cardboard on the cords. Then, I glued the brown leather and made sure the cords were marked, moistening the leather and using my folders.


I prepared the letters and tested them on some scrap of leather, so that I could make sure everything was ok and Inma could see the letters before they were on the album.


I also put brown leather on the corners of the album, and then, after pairing the blue leather on the corners and the joint, I glued it into the covers.


Then, I proceeded to make the clamshell box. I used a beige cloth for the box part, a lighter cloth for the covers.


I put white velvet inside of the box.


This is the outcome:

I gilded the album with silver foil, as she wanted. The words "Nuestro libro de aventuras" mean "Our Adventure Book", like in the movie. 


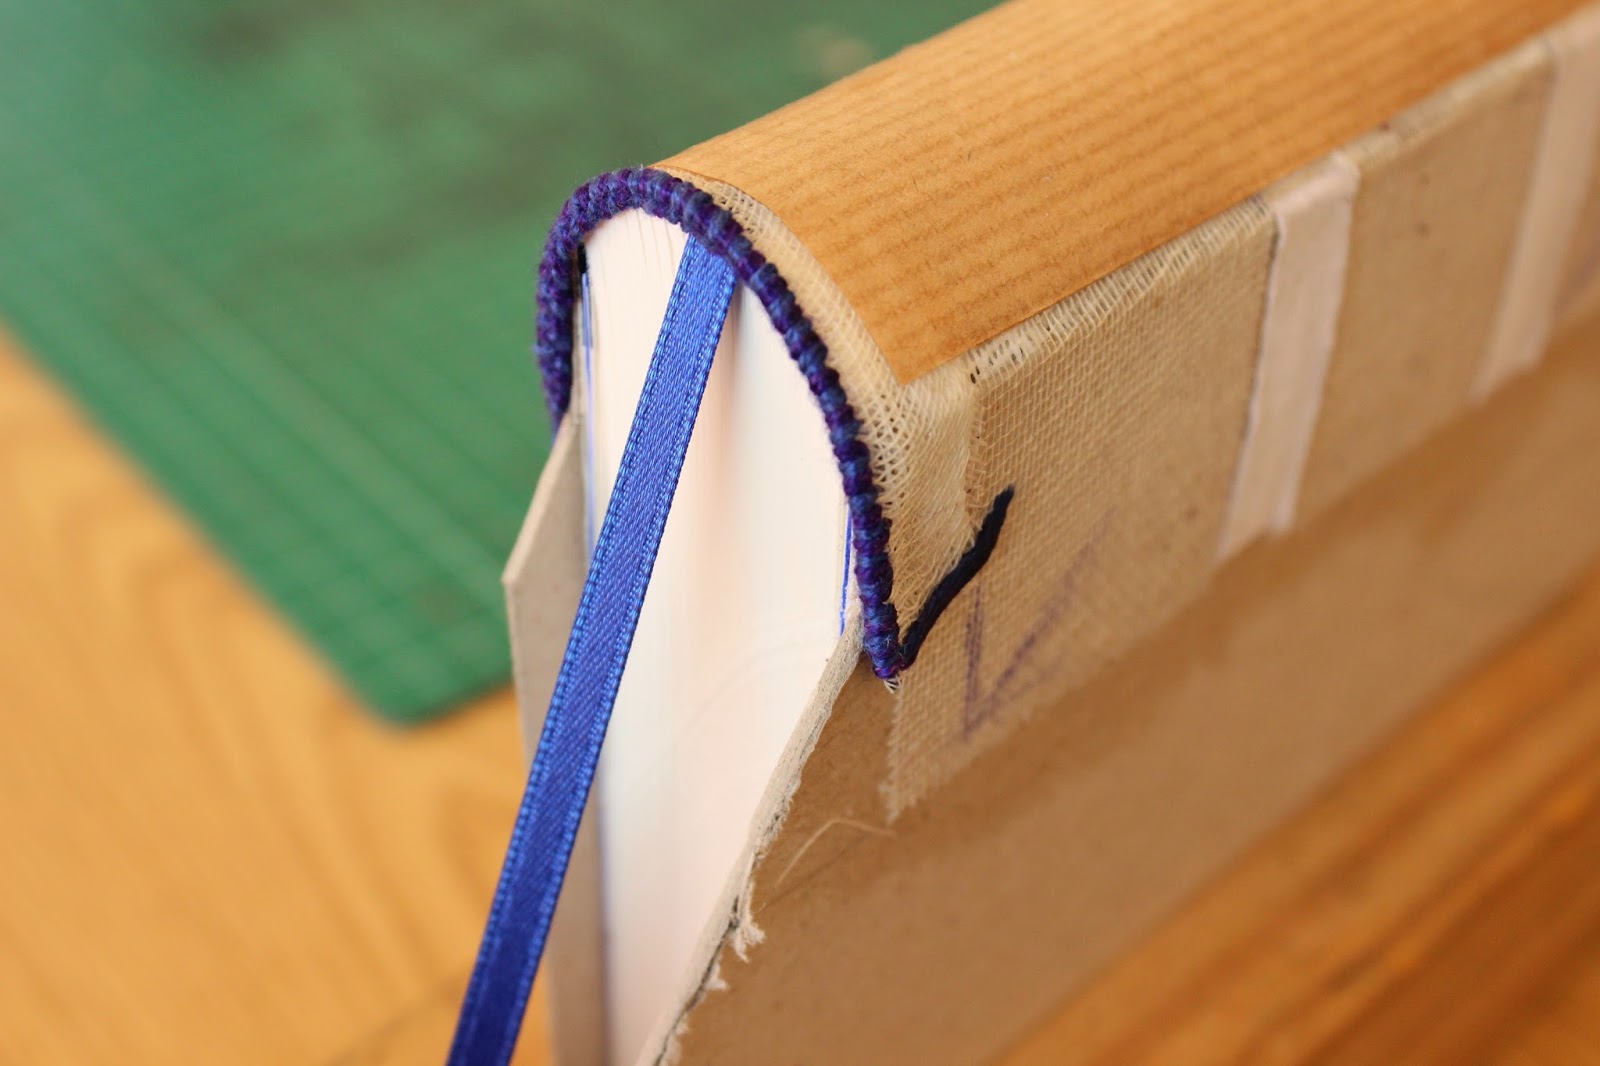
You can see how well the nerves are marked.


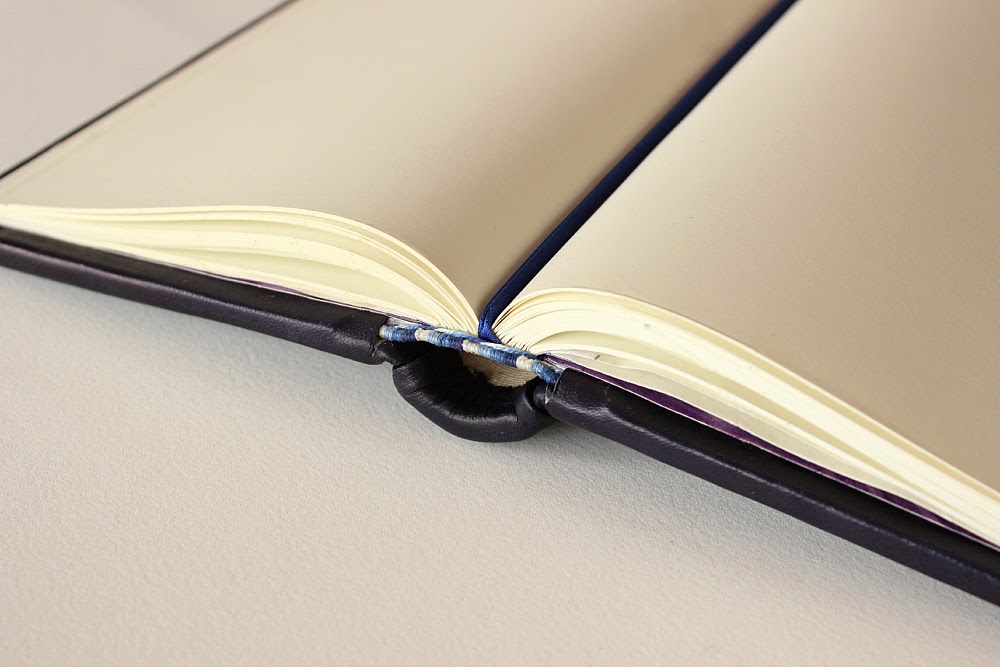
Here you can have a good look of how the card works, compensating the thickness of the things she will glue on the pages. 


The inside of the covers, with the Bomoart map paper.


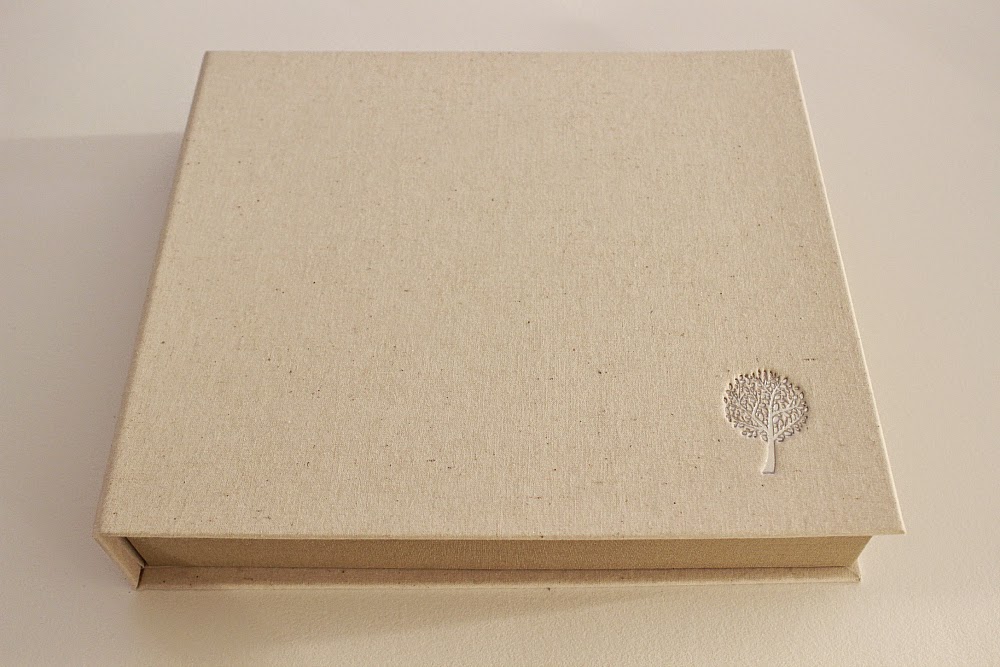
The album on its box.


She decided to add a tree on the cover of the box, without the gilding.


We were both quite happy with the outcome of the project. I am sure they will treasure this album for all of their lives together, and I am happy thinking this is something they might show to their kids.

I hope you enjoyed this post and, as usual, questions and comments are welcome.